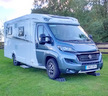
We have found the fixed bed
layout of our motorhome to be ideal for the type of holidays we have as
a couple mainly touring around. Some people have stated that it is a
waste of valuable floor area but we have found the half dinette at the
front is fine for lounging as we mostly use the swivelled driving and
passenger seats as they are very comfortable. Not having to make up the
bed each evening is a big plus and useful for daytime snoozes and the
large storage area underneath the bed is more than ample. In our
previous Autosleeper Symbol we found it necessary to fit a backbox for
our long trips. We no longer take bikes as they rarely got used.
We have carried out several improvements to the interior of our van as
we have been using it for the last year. I always endeavour to make
these changes with the minimum of impact on the factory supplied
vehicle although the occasional discrete screw hole is unavoidable. A
very useful item I have used is the very high strength double sided
adhesive gel tape 25mm wide which unlike the foam based tape is
transparent and can be peeled off surfaces without leaving any residue.
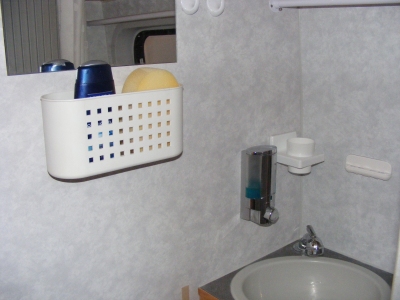
Bathroom
Although we
found the bathroom storage provided above and below the basin to be
well designed an additional rail for towels and flannels which hook on large shower curtain
rings has been fitted, together with a liquid soap dispenser,
toothbrush rack and a plastic wall mounted tray for shampoo, sponges
etc while showering. I have replaced the shower head with one with a
trigger handle making it a lot easier to keep a fairly consistent
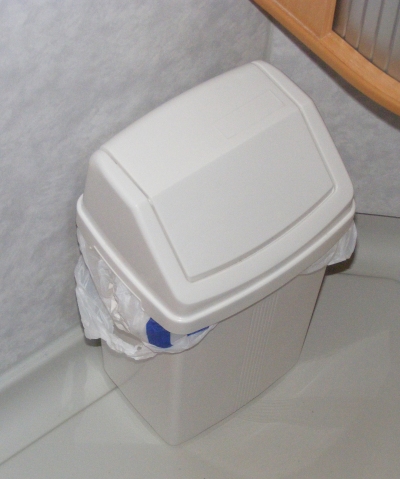
temperature when showering. We found a waste bin that easily fits in
the bathroom and which doesn't get in the way. It hooks on a
rail made from electrical trunking.
Television mount
I
have recently removed the tv mount and panel as we rarely take a tv and
just prop it on the closed sink glass cover as it is easier to watch at
a lower level.
We sometimes take a 16 inch Technika (Tesco) 12v television with freeview and DVD
drive powered through an Amperor stabilised power supply, or 230v
transformer when on hookup. We use a Maplins Comag suitcase satellite
kit or a portable SLX amplified aerial for freeview which normally works well in most Uk areas.
We do end up with a tangle of cables although there are adjacent 12volt and mains sockets.
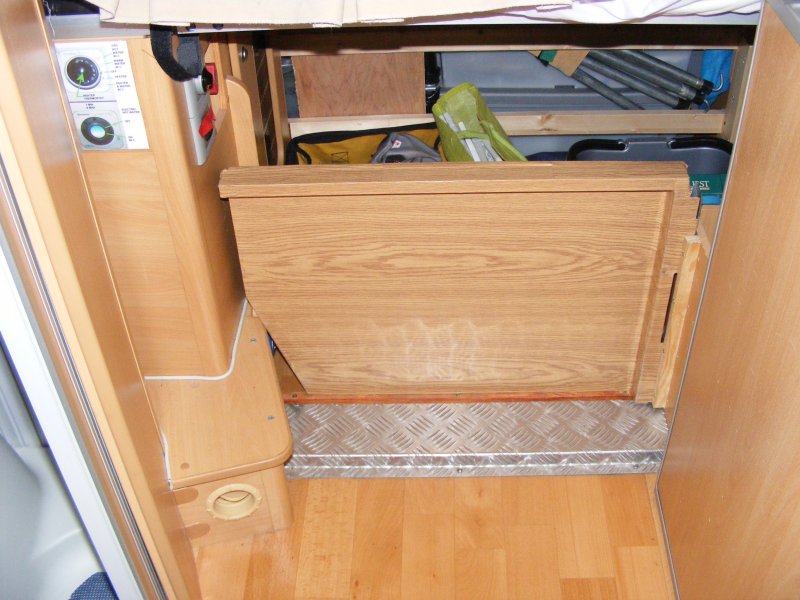
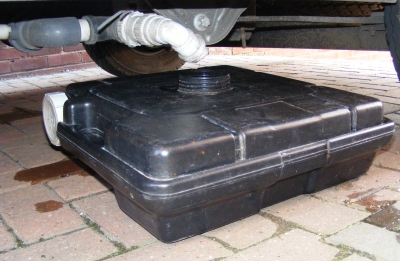
Waste tank
The
Adria has a
90 litre waste tank which usually lasts about three days when touring
but I prefer to drain it whenever possible and we have an old Thetford
20 litre shallow slide-under tank as there isn't too much
clearance
underneath the van. We found the Adria fitted drain to be awkward
as it is too far inboard. I loosened the ballvalve outlet elbow
and swivelled it rearwards. 38mm kitchen waste pipe fittings fit into
the elbow so I added a second elbow followed by a reducer to the
smaller 32mm wastepipe pushfit fittings. The final elbow swivels to
align with the slide-under tank via a flexible hose or it can be easily
withdrawn and an
extension
pipe pushed in to reach a drain to the side of the van if
necessary. I also carry a longer length of waste pipe (easily obtained
from an Aquatics centre). The operating handle for the shutoff valve is
on a flexible
drive that kept becoming detached from its spigot. This has been fixed
by carefully drilling a 3mm cross hole through the coupling with a
retaining pin pushed through.

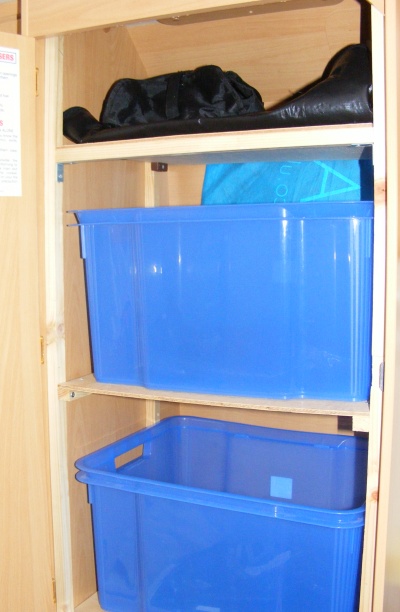
Other improvements
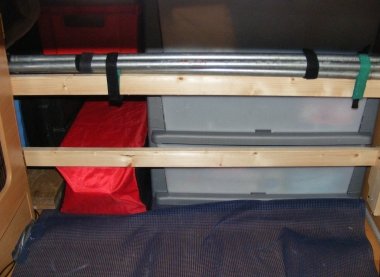
I fitted two shelves into the wardrobe as we don't take bags for our
clothes The blue plastic boxes are a slide fit and the top shelf stores
electrical odds and ends. I have added two LED
spotlights to improve the
illumination as we mainly use the comfortable swivelled cab seats in
the evenings. They are fed from
the leisure battery via the existing under cupboard side spotlight
cable with a fused cable. The curtain wire
stretched between the cab grab handles, visible in the photo is useful
for drying towels overnight. Another useful addition is the small
beige tray from a garden centre, stuck to the narrow window
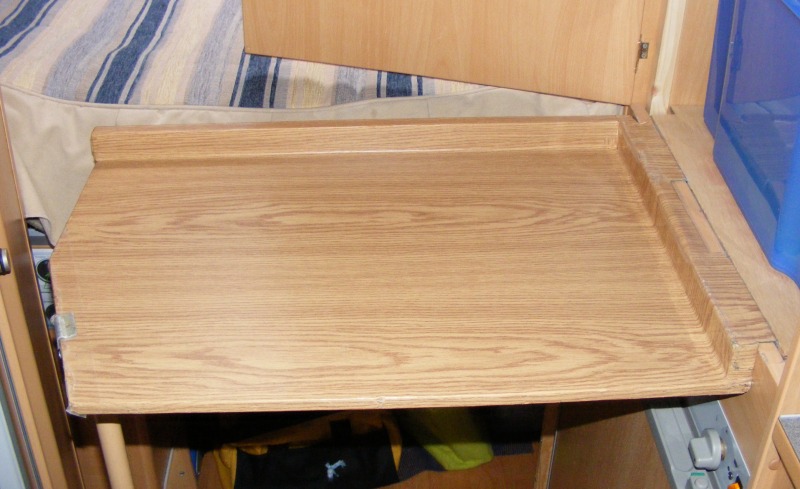
ledge in the lounge area - fine for cups etc. We usually remove
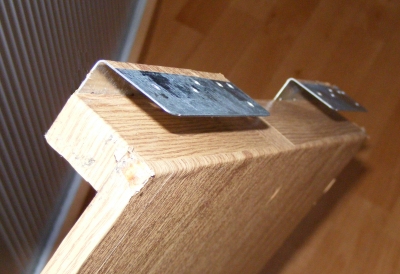
the table in the evenings and rotate the dinette seat cushion which is
propped up by a simple frame so that one of us can stretch their legs
out.
We
have put a wardrobe rail along the rear offside lockers for coats on a
hook on hanger and built a bookshelf below the lockers aas we always
sleep with our heads to the nearside wall where the reading lights are.
We
took down the thin
side curtains supplied and use internal insulated thermal screens in
addition to the Seitz front windscreen blind already fitted. I accept
they are not as efficient as external screens we have used on our
previous motorhomes but are easier to store as they don't get
soaking wet and allow a quick getaway if disturbed at night.
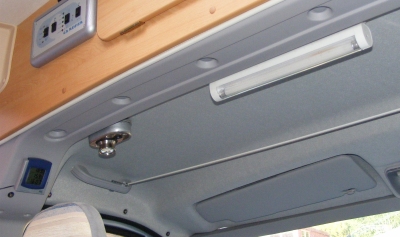

LED spotlights (striplight now removed)
wardrobe shelves and boxes useful tray by side window
I
have fitted an 80watt solar panel feeding into the Schaudt EBL208
control unit via a Schaudt LR1218 solar regulator. Also there is a
Schaudt OVP1 anti surge unit fitted onto the mains input.
page updated 03/05/2015